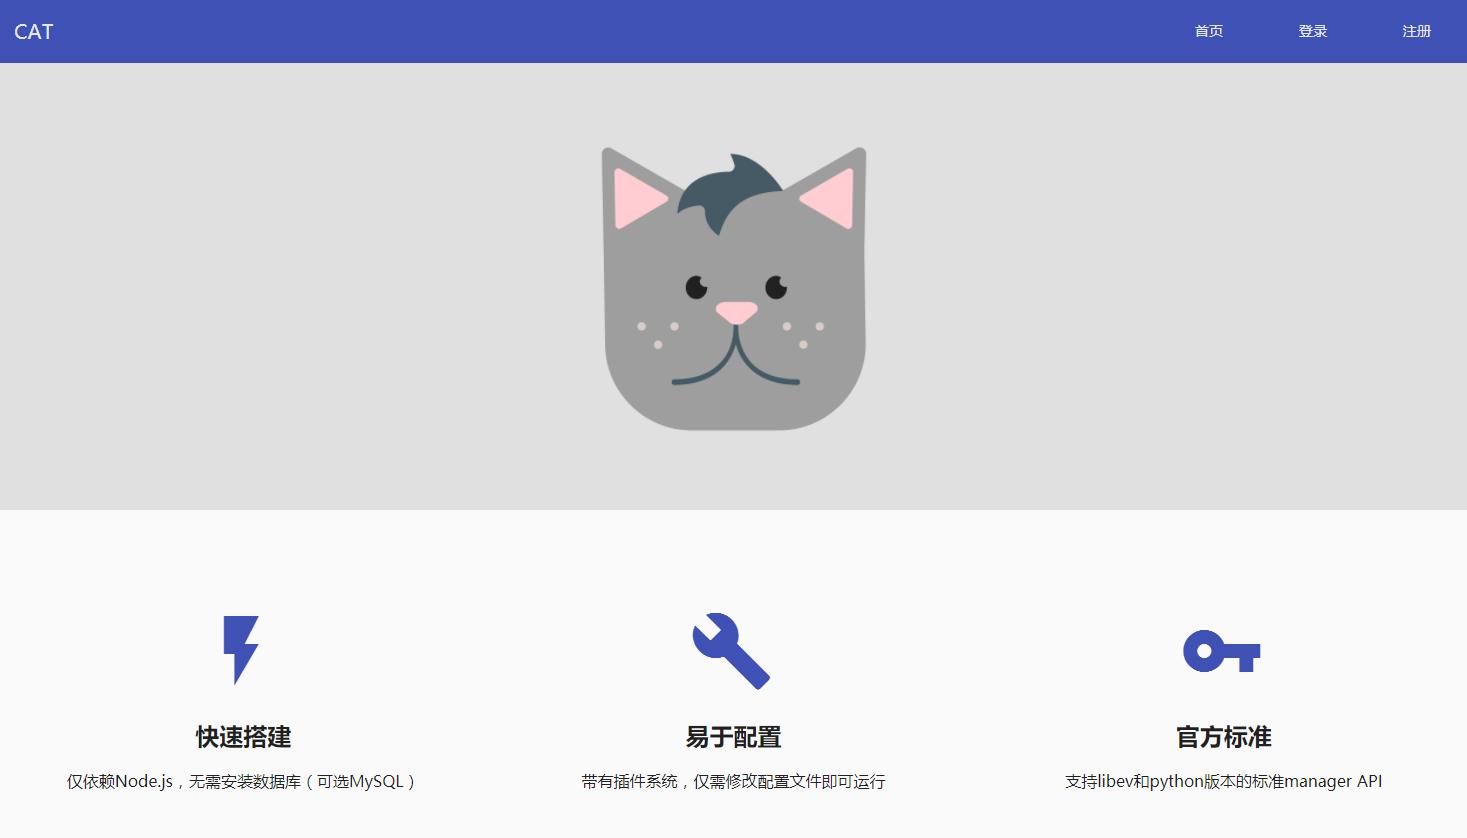
使用 shadowsocks Manager 搭建 SS 多人管理平台 Debian/Ubuntu

预警,全文无图!
首先你至少需要一台 512M 内存以上的 VPS,最好是基于 KVM/XEN 平台,当然 OVZ 也行,操作系统选择 Debian 8 x64,并使用 root 帐号登入。
您可以试试这几个提供商: Linode (1G 内存 5 刀/月)、Vultr (512M 内存 2.5 刀/月)、GCE (信用卡认证后送 1 年有效 300 刀代金券,低配 5 刀/月 + 0.23刀/GB 到中国区流量)
0、 使用 SSH 连接工具连接你的 VPS
自己研究
1、 更新 VPS 及安装必要软件
apt-get update && apt-get install vim git curl supervisor build-essential -y
安装 Nodejs、Nginx、Shad0ws0cks-libev、Shad0ws0cks Manager
curl -sL https://deb.nodesource.com/setup_6.x | bash - && curl -L http://nginx.org/keys/nginx_signing.key | apt-key add - && nano /etc/apt/sources.list
进入编辑模式,粘贴下方内容
deb http://httpredir.debian.org/debian jessie-backports main
deb http://nginx.org/packages/mainline/debian/ jessie nginx
deb-src http://nginx.org/packages/mainline/debian/ jessie nginx
保存并退出。
apt-get update && apt-get install nginx nodejs -y && apt -t jessie-backports install shadowsocks-libev -y && npm i -g pm2 && git clone https://github.com/shadowsocks/shadowsocks-manager ssm && cd ssm && npm i
2、 配置 Shad0ws0cks Manager
nano /etc/supervisor/conf.d/ss-manager.conf
进入编辑模式,粘贴下方内容
[program:ss-manager]
command=ss-manager -m aes-256-cfb -u --manager-address 127.0.0.1:2397
autorestart=true
user=root
保存并退出,再运行
supervisorctl reload
重启 Supervisor,接下来配置 SSM 管理端
mkdir ~/.ssmgr && nano ~/.ssmgr/ss.yml
进入编辑模式,粘贴下方内容
type: s
empty: false
shadowsocks:
  address: 127.0.0.1:2397
manager:
  address: 0.0.0.0:2398
  password: 'passwd'
db: 'ss.sqlite'
按
Esc 输入 :wq 保存并退出。pm2 --name "ssm" -f start /root/ssm/server.js -x -- -c ss.yml
然后进行配置 webui 端:
nano ~/.ssmgr/webgui.yml
进入编辑模式,粘贴下方内容
type: m
empty: false

manager:
  address: 127.0.0.1:2398
  password: 'passwd'
  # 这部分的端口和密码需要跟上一步 manager 参数里的保持一致
plugins:
  flowSaver:
    use: true
  user:
    use: true
  account:
    use: true
    pay:
      hour:
        price: 0.03
        flow: 500000000
      day:
        price: 0.5
        flow: 7000000000
      week:
        price: 3
        flow: 50000000000
      month:
        price: 10
        flow: 200000000000
      season:
        price: 30
        flow: 200000000000
      year:
        price: 120
        flow: 200000000000
  email:
    use: true
    username: 'cat-mail@mailgun.org'
    password: 'passwd'
    host: 'smtp.mailgun.org'
    # 这部分的邮箱和密码是用于发送注册验证邮件,重置密码邮件使用的,推荐使用 Mailgun.com
  webgui:
    use: true
    host: '0.0.0.0'
    port: '8088'
    site: 'https://cat.con.sh'
    # 改成你自己的域名
    gcmSenderId: '456102641793'
    gcmAPIKey: 'AAAAGzzdqrE:XXXXXXXXXXXXXX'
  alipay:
    use: false
    # 若要使用支付宝收款,请自己研究
    appid: 2015012108272442
    notifyUrl: ''
    merchantPrivateKey: 'xxxxxxxxxxxx'
    alipayPublicKey: 'xxxxxxxxxxx'
    gatewayUrl: 'https://openapi.alipay.com/gateway.do'

db: 'webgui.sqlite'
保存并退出。
pm2 --name "webgui" -f start /root/ssm/server.js -x -- -c webgui.yml
配置 PM2 使它开机启动
pm2 save && pm2 startup
3、 配置 Nginx
安装 acme.sh
curl -L get.acme.sh | bash -
签发 SSL 证书,签发前将你的域名解析至你 VPS 的 IP
service nginx stop && /root/.acme.sh/acme.sh --issue --standalone -d cat.con.sh
将
cat.con.sh 换成你的域名,签发成功后会得到证书的地址形如[Mon Mar 27 13:16:31 UTC 2017] Your cert is in /root/.acme.sh/cat.con.sh/cat.con.sh.cer
[Mon Mar 27 13:16:31 UTC 2017] Your cert key is in /root/.acme.sh/cat.con.sh/cat.con.sh.key
[Mon Mar 27 13:16:31 UTC 2017] The intermediate CA cert is in /root/.acme.sh/cat.con.sh/ca.cer
[Mon Mar 27 13:16:31 UTC 2017] And the full chain certs is there: /root/.acme.sh/cat.con.sh/fullchain.cer
其中
/root/.acme.sh/cat.con.sh/cat.con.sh.key
是你的密钥
/root/.acme.sh/cat.con.sh/fullchain.cer
是你的全证书链,这两个是我们需要的
然后编辑 Nginx 配置文件
nano /etc/nginx/conf.d/ss.conf
进入编辑模式,粘贴下方内容,将其中的
cat.con.sh 换成你的域名:server {
listen 80;
server_name cat.con.sh;
rewrite ^ https://$server_name$request_uri? permanent;
}
server {
listen 443 ssl http2;
server_name cat.con.sh;
ssl on;
ssl_certificate /root/.acme.sh/cat.con.sh/fullchain.cer;
ssl_certificate_key /root/.acme.sh/cat.con.sh/cat.con.sh.key;
location / {
proxy_set_header X-Real-IP $remote_addr;
proxy_set_header Host $http_host;
proxy_pass http://127.0.0.1:8088;
}
}
保存并退出。
service nginx start
然后访问你的域名,注册的第一个用户会是管理员。
评论
发表评论